

Introduction
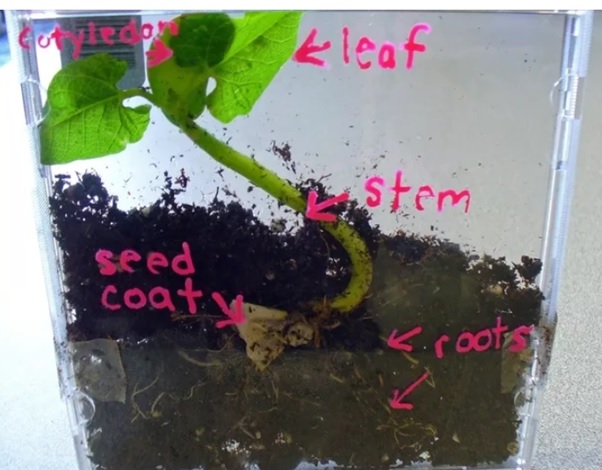
In this experiment, we are going to use some old CD cases in order to cultivate a bean plant at our home and study its various parts that grow out. The reason why we are using CD cases instead of some other material is they are transparent. As a result, it will be easy for you to label out the different parts of the plant so that the child can well distinguish it.
This experiment is very much useful for the kids who are in their 3rd to the 5th standard of their school.
We believe that the practical knowledge remains for a longer period of time than the theoretical knowledge. Therefore, without wasting much time, let's have a quick look at the materials that will be required in order to carry out this experiment. The very first thing you will need is few unused and old CD cases followed by some bean seeds. You can also carry out this experiment using some other seeds too.
Apparatus
- Soil
- Clean tissue paper
- Freshwater
- Glue or sticking tape
- Scissors or cutter
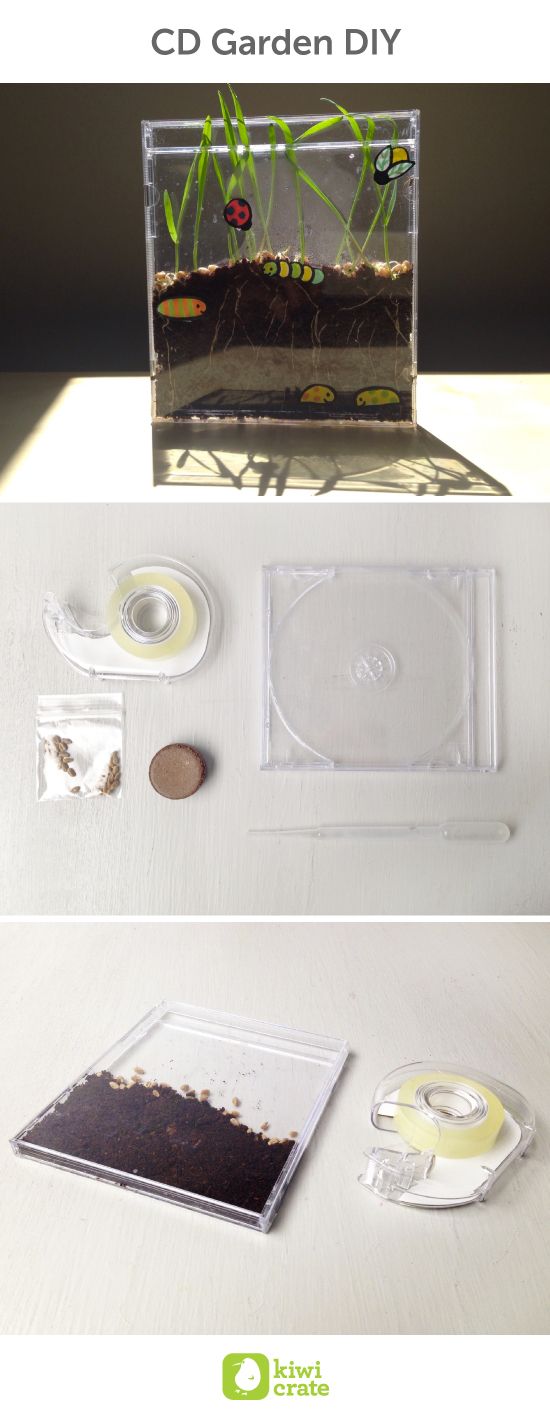
- Permanent marker. After collecting all the required materials, head on to have some actual fun on experimenting.
Procedure
Step 1

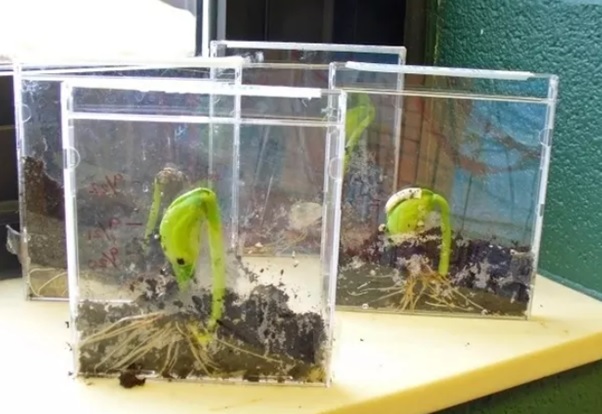
Take two CD cases, open each of them at an angle of 90° and attach them using glue or sticking tape.
Step 2

A cube will be formed with two sides opening. Now, its time to make the base of the cube.
Step 3
For making the base, you can cut out another CD case and glue it to the bottom. Before proceeding further, make sure the edges are fixed properly.
Step 4
Put some soil at the base, till it covers one-third of the cube. Once you are done building the frame and soiling it, its time to take charge of the seed(s).
Step 5
Before you sow the seed in the soil, moisten it a little bit. For doing this, you can put the seed on a wet tissue paper or napkin and cover it with another wet tissue paper.
Step 6
Leave it undisturbed for few minutes. After it gets moisturized, you can now sow the seed in the soil and sprinkle some water on it.
Step 7
Keep it in a proper place where it gets natural air and sunlight. Also, do not forget to sprinkle on the soil regularly.
Result
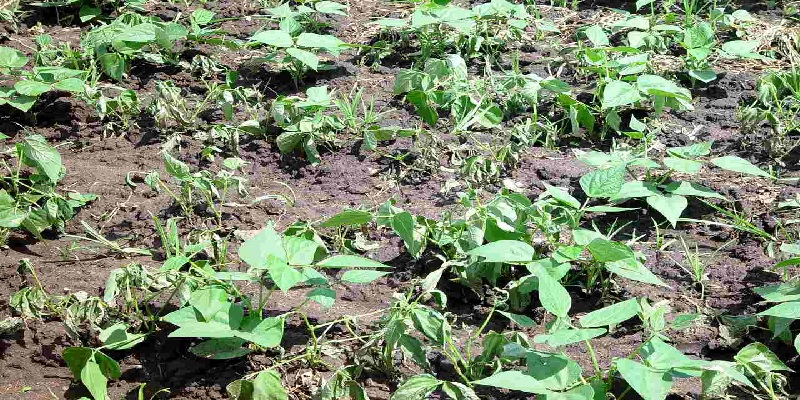
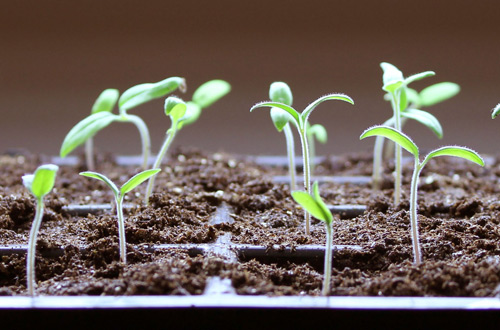
Within eight to ten days, the germination will take place and you will observe a plant is growing. From the initial stage to its final stage, you can label the various parts in the plants on the CD case with a permanent marker. This will help your kid(s) to know the various parts of a bean plant. (or any other plant)


Comments